
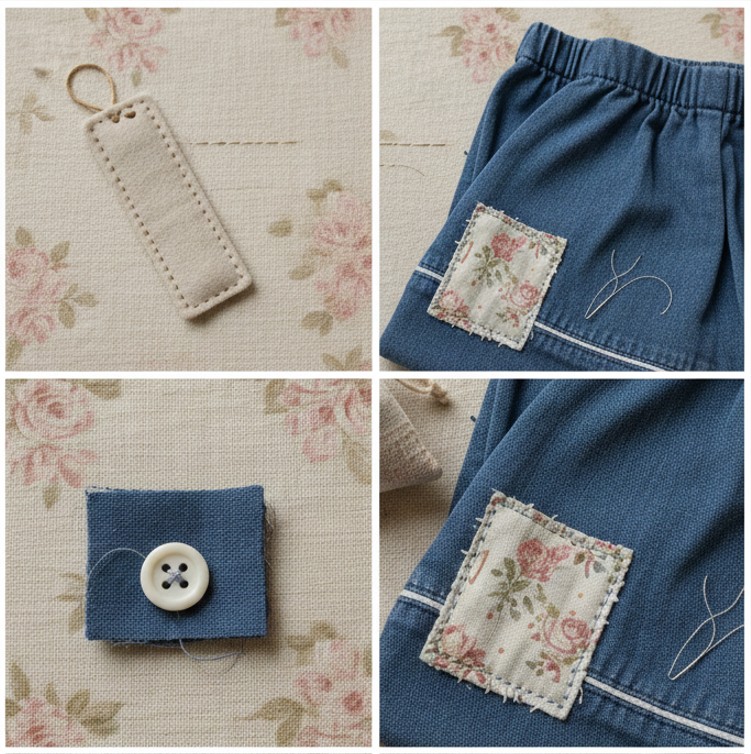
Hand sewing is one of those small, magical life skills that quietly makes everything easier. Whether you want to hem pants, fix a tiny tear, attach a button, or start simple crafts, knowing just a few stitches gives you real power with needle and thread.
This guide walks you through the very basics; tools, threading, knots, and the simplest stitches.
What You Need to Start Hand Sewing
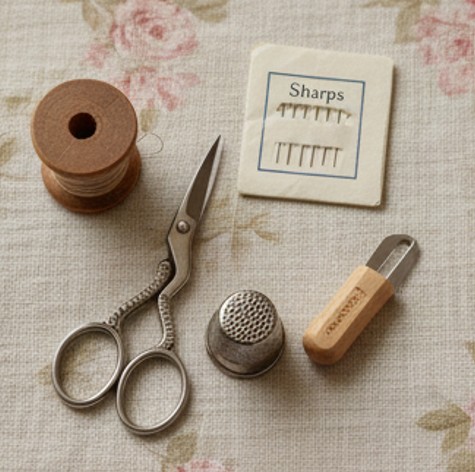
You don’t need much, just a handful of basics:
- Hand sewing needles
Start with a small pack labeled “Sharps.” - Thread
All-purpose polyester thread works for almost everything. - Scissors
Sharp embroidery scissors are easiest. - Fabric or the item you’re mending
- Optional: thimble, needle threader, needle cushion, fabric pins
Tip: If you’re mending clothes, choose a thread color that blends in. If you’re crafting, choose whatever makes your heart happy.
How to Thread a Needle (Beginner Method)
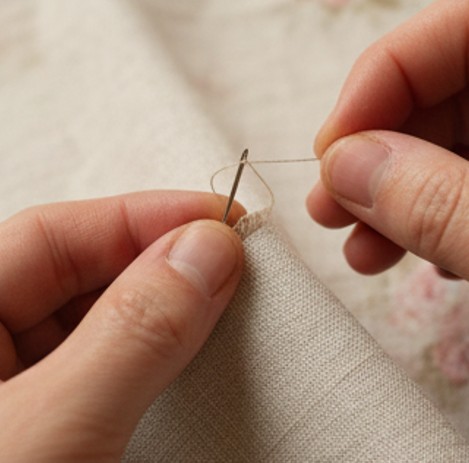
- Cut a piece of thread about 18–24 inches long.
- Longer thread = more tangles.
- Wet the end slightly or pinch it between your fingers to flatten it.
- Hold the needle still and move the thread toward the eye.
- Pull the thread through 3–4 inches.
- Tie the ends together if you want double thread (stronger), or leave it single for delicate fabrics.
.
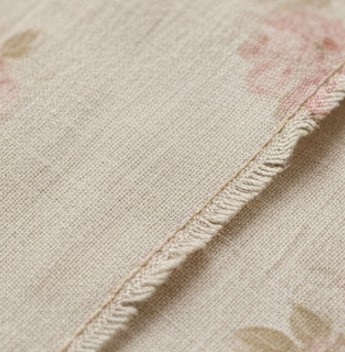
How to Start Sewing in Fabric
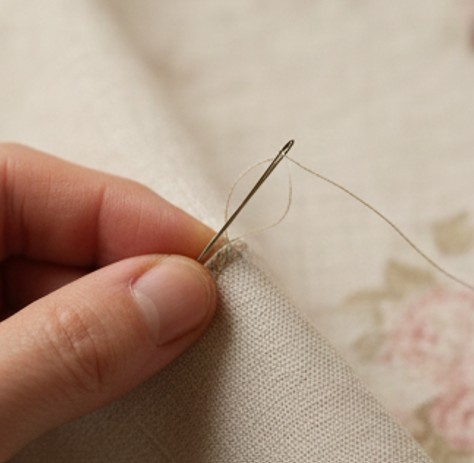
To anchor your first stitch:
- Keep your stitches small and even, the size of a grain of rice is perfect.
- Insert your needle from the inside/back of the fabric so the knot stays hidden.
- Pull gently until the knot catches.
How to Tie a Knot at the End of Your Thread
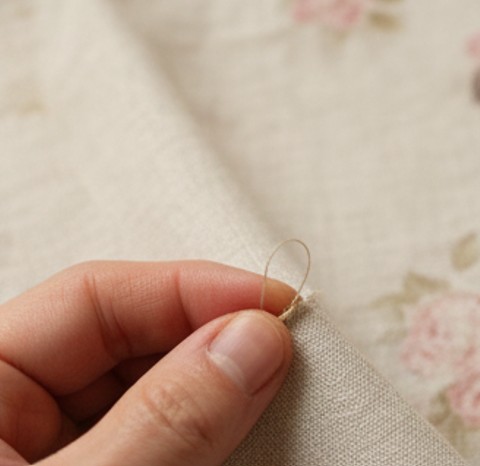
The simplest method:
- Wrap the end of the thread around your fingertip.
- Roll it gently with your thumb.
- Pull the rolled thread down the length of the strand — it will form a tiny knot!
This knot stops your stitching from slipping out the back of your fabric.
The Two Basic Stitches Every Beginner Should Know
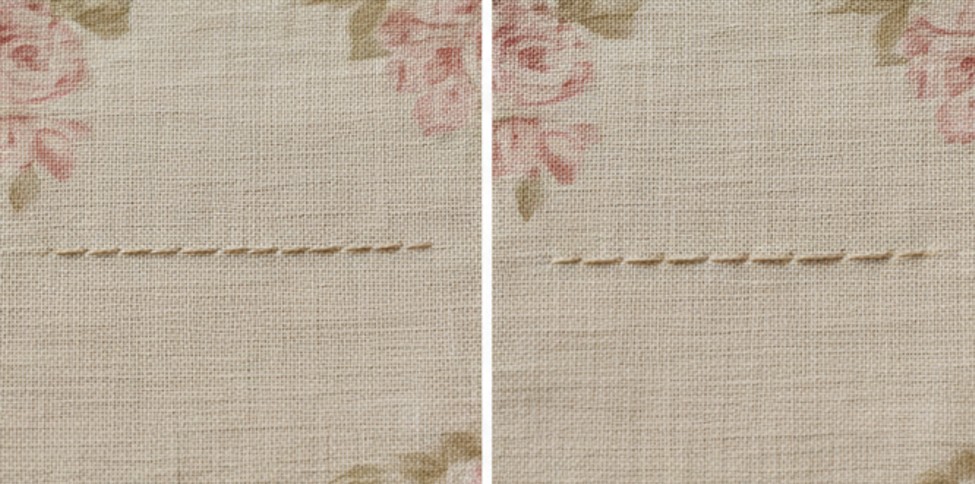
Running Stitch (The Beginner Stitch)
This is the simplest and quickest stitch. It’s perfect for:
- Basting
- Gathering
- Temporary sewing
- Simple repairs
How to do it:
Bring the needle up and down through the fabric in a straight line, making small, even stitches.
Backstitch (Strong & Durable)
This is the hand-sewn version of a machine stitch & very secure. Its used for:
- Clothing repairs
- Anything that needs strength
- Seams under tension
How to do it:
- Make one small stitch forward.
- Come up ahead of your stitch.
- Insert the needle backwards, into the end of the previous stitch.
This creates a continuous, strong line of thread.
How to Finish Your Stitching (Tie Off a Knot)
When you’re done sewing:
- Make a tiny stitch in place & don’t pull it all the way tight.
- Before the loop closes, pass the needle through it to form a knot.
- Pull gently.
- Snip thread close to the knot.
Your seam is secure!
Try the “What Stitch Should I Use?” Tool
Scroll down to the interactive guide below! Choose what you’re trying to do, and it will recommend the stitch that best fits your project, along with a quick explanation of why it works.
Some of the stitches it suggests go beyond the basics in this post. Think of it as a little sneak peek: a soft introduction to other hand-sewing techniques that will be covered in upcoming CloStitch tutorials. If you stumble on a stitch you’ve never heard of, don’t worry!
More detailed, step-by-step guides are on the way!!
CloStitch: What Stitch Should I Use?
A cozy little tool to help you pick the perfect hand-sewing stitch.
Leave a Reply